FlashProManager support translation of the user interface to multiple languages.
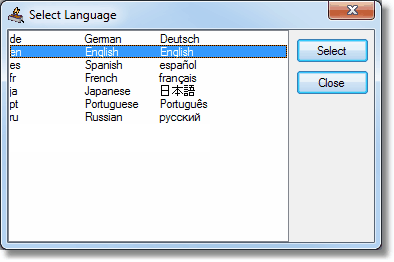
Selecting the Language
From Options -> Language... select the language.
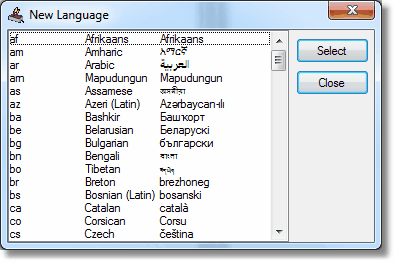
Adding a new Language Translation
| 1. | Create a Language directory. Close FlashProManager. In Windows Explorer, locate the installation location of FlashProManager (normally C:\Program Files\FlashProManager or C:\Program Files (x86)\FlashProManager). Create a new folder (right click, New -> Folder) and rename to Language. |
| 2. | Create a default translation file. Start FlashProManager as administrator. Shift + Ctrl click on the Options -> Language menu. Select the new language. A translation file is created in the Language directory, the FlashProManager language will be set to the new language. |
Editing the Translations
The language translation file in C:\Program Files\FlashProManager\Language or C:\Program Files (x86)\FlashProManager\Language may be edited in three ways:
| • | Some interface elements (captions, buttons, titles) can be edited directly by right clicking on the text. |
| • | With a text editor. Be sure when saving the file to retain the UFT-16 encoding. |
| • | Using a translation application like Sisulizer to edit the translation files. |
| • | Google docs (create a spreadhseet, import the ini file, use a function like =GoogleTranslate(C1,"en", "es") to translate a cell) |
Microsoft has translations for common application strings:
http://www.microsoft.com/Language/en-US/Default.aspx
Translation
Care must be taken when translating to a new language to use the commonly accepted application term for an English word. eg English 'Ok' used on buttons translates into Spanish as 'De acuerdo' but the common computing application translation is 'Aceptar'.
Importing new translations
Copy the translation file into the Language directory.